
Feelin The Love

Ok... wow!  It's been a while since I've done my nails.  Judging by how short they are, you can probably guess why.  Another reason is the HUGE scar I now wear on my middle finger from when Martha Stewart tried to kill me!  Click HERE for the gory details.  But, with Valentines right around the corner, I couldn't help but do a little Konadicure for the occasion.  Well, that and I did a Konadicure for the Super Bowl (so sorry I didn't get pics before completely trashing my nails at the party... GREAT PARTY by the way!!!) that REALLY needed to go.  A girl can only go so long with all of her nails looking like tiny footballs.  Yah, kinda regretting not posting them.  So that I don't make the same mistake again... here are some cuties.

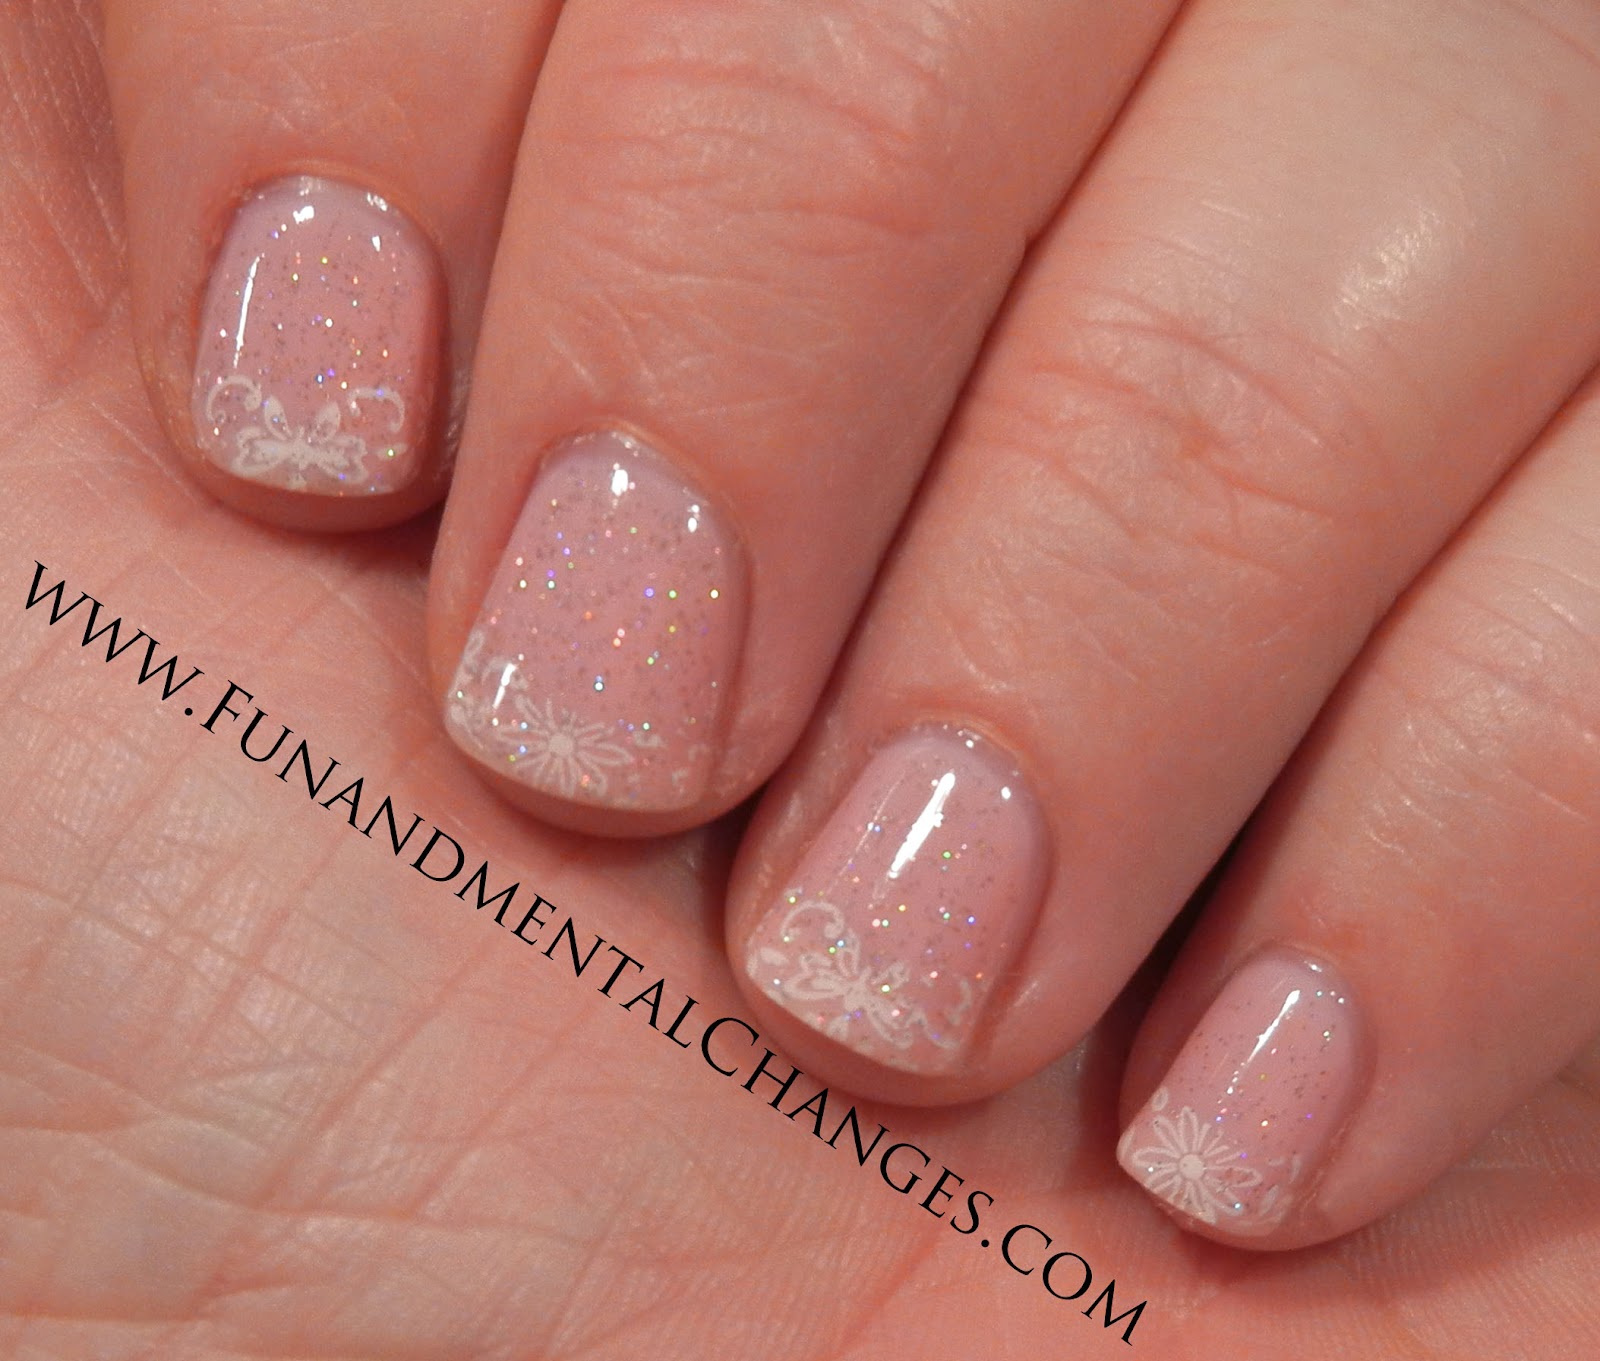
So for my base coat I used Nail Aid's Pink Natural Growth Therapy followed by two coats of OPI's Got a Date To-Knight and then a coat of Seche Vite for a quick dry.  Then I went to Walmart and picked up my copy of Twilight:  Breaking Dawn Pt.1 and watched it.  Next, I used Konad image disc M69 and the special polish in white to do the tips.  Finally, I did one coat of China Glaze's Fairy Dust to give it a sparkle (was in that sparkly mood after watching Twilight) and one last coat of Seche Vite.  Done and done!  LOVE THEM!!!  Definitely a subtle look to these beauties.  MAN, HAVE I MISSED MY PRETTY NAILS!!!

And, speaking of Twilight, don't forget about my Twilighty give away coming up!!!  There's still a couple more days to enter!  Click HERE to find out how!

Comments

Past 7 Days....

Inking Pink Blog Hop

Hi Hoppers! Danielle, a.k.a. FitterTwit here.... so glad you made it!!! If you're mid-hop, you should be arriving here from Chelsea's blog . Was that a great project or what!?! If you're just joining us and need to start the hop from the beginning, you're gonna want to head over to our lovely Hop Hostess Patricia's blog to start the fun here on our VERY IMPORTANT Inking Pink Blog Hop! Here's to Breast Cancer Awareness!!! My project for this hop is a reminder card..."Remember your checkups!" What a wonderful way to say "I love you" to a dear friend or family member. Now you may not be able to see it in the pic above, but I altered The Greeting Farm's Ebony so that her tee shirt reads, "Say YES to Mammograms!" So, today I wanted to share HOW I added the words to her tee. First I printed the words as small as I could and still be able to read the message using my laser printer onto the paper that I would be using to color in my im...

So Lame

So over at Paper Vineyard, the challenge was to create a birthday project and it COULDN'T be a card.  I've personally been creating WAY too many cards lately so I was happy to try my hand at something new..... only I didn't. :(  Instead, I was busy preparing for last week's Cricut Swarm.  Now, while I missed creating a project specifically for our Birthday Non-Card challenge, I figured the cupcake box that I made would fit the bill PERFECTLY for a birthday-themed project.  The box also has an insert for a cupcake to fit inside.  I made it with my Cricut (cuz of the whole Cricut Swarm bit) and while I ADORE this box, I sort of had a little melt down making it and I decided that this is the last Provo Craft product I will ever buy.... let me share why (read through to find out the cartridge I used for this project)! Most of you know that I DESPISE Provo Craft.  I hate that the Cricut is a one-of-kind product that I loved....

The BEST Copic Storage

**** HUGE HALLOWEEN GIVE AWAY... CLICK HERE !!!!**** Ok, so I've done posts in the past about various Copic storage solutions, but I was given THE MOTHER of all storage ideas by my friends Jennie Black and Krista Koenig!!!   Let me share with you the construction of the storage box and then I'll finish this off with the BRILLIANT solution my husband came up with.... cuz I married a GENIUS!!! What you'll need to create the AWESOME storage box pictured here is: 1 Double Deep Art Bin 1 plastic grid for ceiling lighting (found at your local home improvement store) 1 half inch thick wooden square dowel (also found at your local home improvement store) Dimensional adhesive squares Wire cutters or sheers Screws with corresponding drill bit Drill So I first cut the ceiling grid down to 19 squares by 19 squares using my wire cutters.   You will need two 19 x 19 sections of grid material.   The wire cutters went through the plastic material of the grid like b...